Well Ladies and Gents, we ventured up from Australia to Austria. I suppose that I had a sweet tooth, because I decided to make another dessert for this country too. What dessert you ask, well, none other than the most popular pastry in Austria, Apfelstrudel (German) or Apple Strudel.
A bit of history on apple strudel for you just because I can. Apparently the oldest surviving recipe for apple strudel is from 1696 and it is housed at the Vienna Library at City Hall. ‘Strudel’ is a German word meaning ‘whirlpool’ or ‘eddy’, I’m guessing because you have to roll up the pastry…(?) The strudel gained popularity in the 18th century throughout the Habsburg Empire (1278–1780). Strudel is related to the pastry baklava from the Ottoman Empire, and came to Austria via Turkish to Hungarian and then Hungarian to Austrian cuisine. Though it is often considered an Austria dessert, it technically is from the Austro-Hungarian empire. Now, apple strudel is extremely popular in Austria and is considered to be the national dish of the country alongside wiener schnitzel (thin, breaded, and deep fried veal) and tafelspitz (boiled beef in broth).
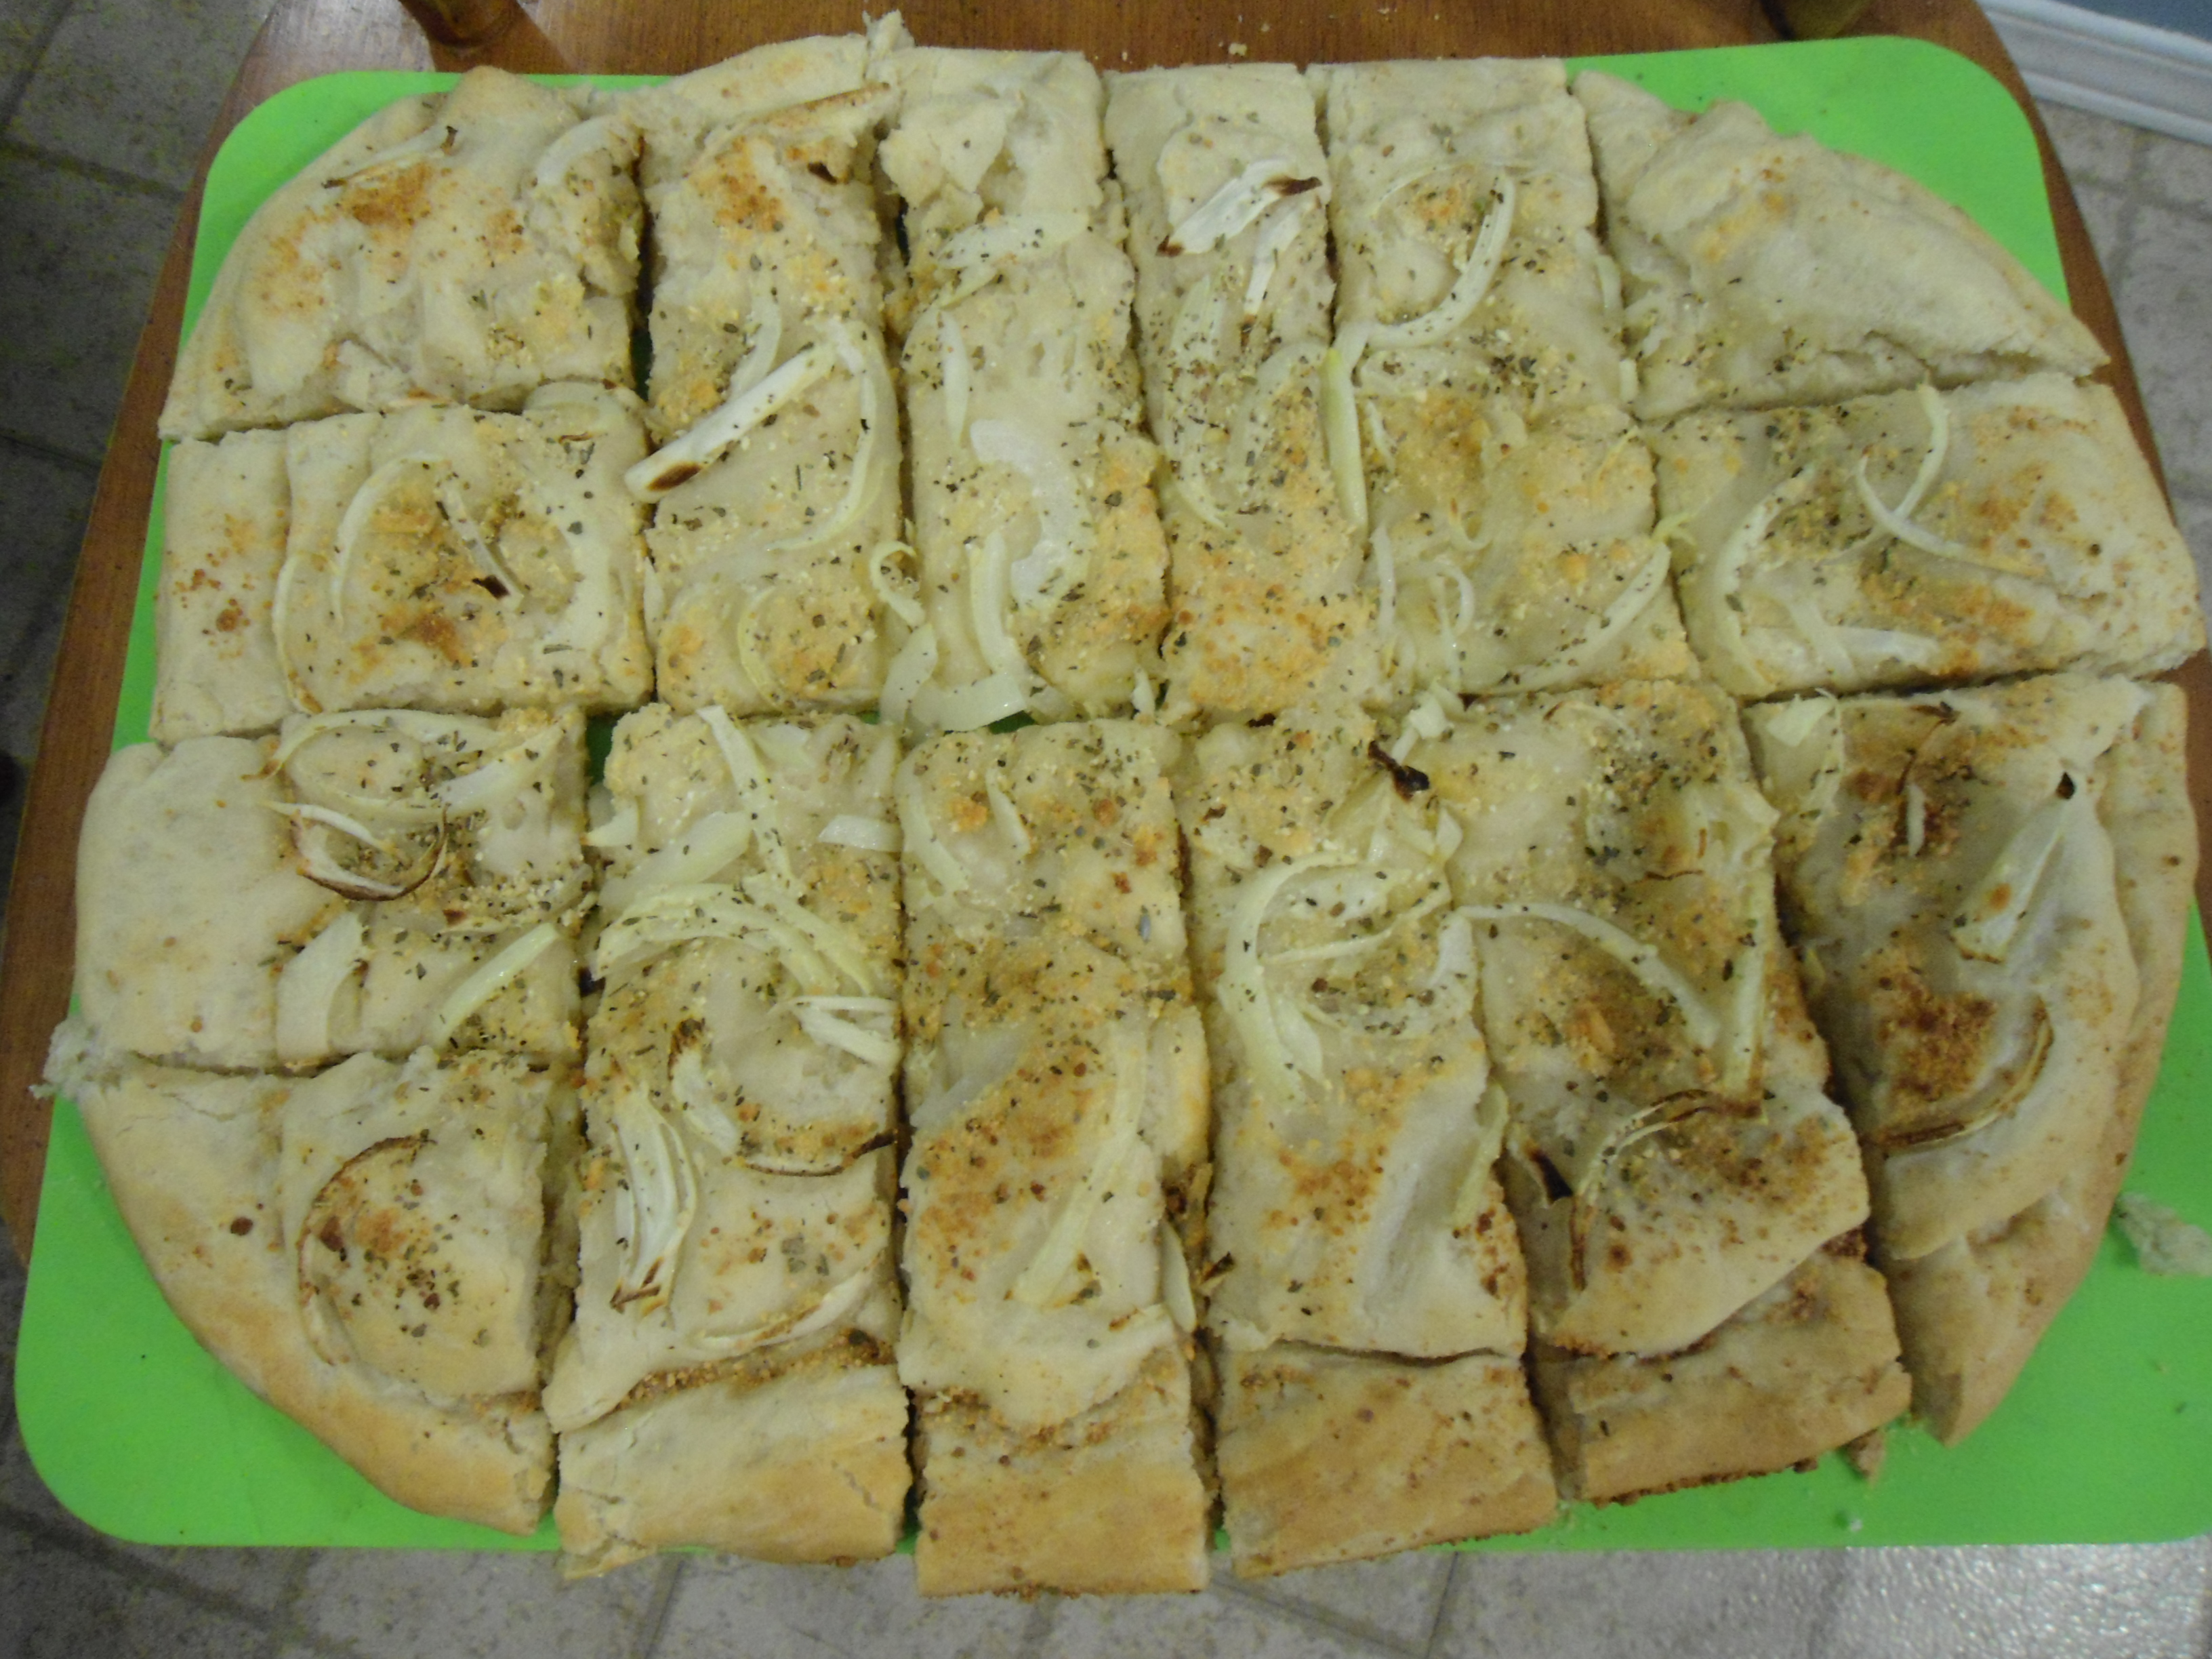
This was my first time ever making apple strudel and it may or may not have turned out not so great. This was my fault. For apple strudel, you have to make the dough and then let it sit for a while so that it is able to be stretched very thin. I was able to stretch my dough to the recommended size (2 by 3 feet) but this is where I messed up. I laid the dough on the table and got ready to add the filling. I realized quite quickly that I did not have enough bread crumbs, so I asked Jamie to run out and grab some more for me. By the time he got home, my dough, being so thin, had dried and began to flake and break as I tried to roll up the strudel. I eventually, with MUCH frustration, got it rolled up relatively well and got it in the oven. It was edible and tasted fine, but it was definitely not the prettiest thing. (I’ll add a picture of it, even though I’m quite embarrassed to, but hey, everyone messes up a recipe sometimes).
Well, here’s the beauty. Doesn’t really look as nice as the one in the recipe(guess which one’s mine). It’s kind of just a mash of apples, dough, and crumbs.


Apple Strudel
For the Strudel
2 tablespoons (30 ml) golden rum (or use apple juice)
3 tablespoons (45 ml) raisins
1/4 teaspoon ground cinnamon
1/3 cup plus 1 tablespoon (80 g) sugar
1/2 cup (1 stick / 115 g) unsalted butter, melted, divided
1 1/2 cups (350 ml) fresh bread crumbs
strudel dough (recipe below)
1/2 cup (120 ml, about 60 g) coarsely chopped walnuts
2 pounds (900 g) tart cooking apples, peeled, cored and cut into ¼ inch-thick slices (use apples that hold their shape during baking)
For the Strudel dough
1 1/3 cups (200 g) unbleached flour
1/8 teaspoon salt
7 tablespoons (105 ml) water, plus more if needed
2 tablespoons (30 ml) vegetable oil, plus additional for coating the dough
1/2 teaspoon cider vinegar
For dough
Combine the flour and salt in a stand-mixer fitted with the paddle attachment. Mix the water, oil and vinegar in a measuring cup. Add the water/oil mixture to the flour with the mixer on low speed. You will get a soft dough. Make sure it is not too dry, add a little more water if necessary.
Take the dough out of the mixer. Change to the dough hook. Put the dough ball back in the mixer. Let the dough knead on medium until you get a soft dough ball with a somewhat rough surface.Take the dough out of the mixer and continue kneading by hand on an unfloured work surface. Knead for about 2 minutes. Pick up the dough and throw it down hard onto your working surface occasionally.Shape the dough into a ball and transfer it to a plate. Oil the top of the dough ball lightly. Cover the ball tightly with plastic wrap. Allow to stand for 30-90 minutes (longer is better).
It would be best if you have a work area that you can walk around on all sides like a 36 inch (90 cm) round table or a work surface of 23 x 38 inches (60 x 100 cm). Cover your working area with table cloth, dust it with flour and rub it into the fabric. Put your dough ball in the middle
Pick the dough up by holding it by an edge. This way the weight of the dough and gravity can help stretching it as it hangs. Using the back of your hands to gently stretch and pull the dough. You can use your forearms to support it.
The dough will become too large to hold. Put it on your work surface. Leave the thicker edge of the dough to hang over the edge of the table. Place your hands underneath the dough and stretch and pull the dough thinner using the backs of your hands. Stretch and pull the dough until it’s about 2 feet (60 cm) wide and 3 feet (90 cm) long, it will be tissue-thin by this time.
For filling
Mix the rum and raisins in a bowl. Mix the cinnamon and sugar in another bowl. Heat 3 tablespoons of the butter in a large skillet over medium-high. Add the breadcrumbs and cook whilst stirring until golden and toasted. This will take about 3 minutes. Let it cool completely.
Put the rack in the upper third of the oven and preheat the oven to 400°F (200°C). Line a large baking sheet with baking paper (parchment paper). Make the strudel dough as described below. Spread about 3 tablespoons of the remaining melted butter over the dough using your hands (a bristle brush could tear the dough, you could use a special feather pastry brush instead of your hands). Sprinkle the buttered dough with the bread crumbs.
Spread the walnuts about 3 inches (8 cm) from the short edge of the dough in a 6-inch-(15cm)-wide strip. Mix the apples with the raisins (including the rum), and the cinnamon sugar. Spread the mixture over the walnuts.
Fold the short end of the dough onto the filling. Lift the tablecloth at the short end of the dough so that the strudel rolls onto itself. (NOTE: I did not have a tablecloth, but I can see how much easier it would have been)
Place on pan in a curved horseshoe shape and brush the top with the remaining melted butter.
Bake for about 30 minutes until it is golden brown.
Recipe courtesy of: http://chefinyou.com/2009/05/austrian-apple-strudel/
Yes, I know that it looks intimidating because of all of the instructions, but really, it isn’t that hard. Just have the filling ready for right once your dough is stretched, or else it might dry out like mine did. Now, as for our opinions, we both liked it alright, but we both thought that there were too many bread crumbs. If I were to make it again, I would definitely reduce the amount.
Well there you have it, a delicious dessert right from the Alps. Enjoy.
That now makes 11 countries down, 184 left to go. We’re getting there (slowly!). Hope you enjoy following along with me as I cook my way around the world.
If you missed my last post on Australia, check it out here.


 Tabbouleh


 was in Colombia in 2012 on a mission trip. We went to an island on our day off. They prepared food for us, and lo and behold, the food was a whole fish. I was starving though, so I actually ate it. I did however douse it in lime to try to counteract the fishy taste. Here I am bravely eating my fish).
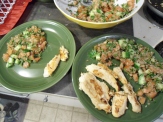 I took this picture to show how reluctant I was to try the fish. That is Jamie’s portion compared to my own. (The salad on our plates is called Tabouleh, which I made for Bahrain. Check that post out